Packaging design seems so simple: just putting logos and playing around with text. But is it really that simple? Far from it.
This is a process that is supposed to turn a packaging design idea into a finished product. So it is much more detailed than you may think.
Learn how a packaging design moves from an idea to a final product in 11 easy steps.
#1. Identify Needs and Goals
 Communicate with the client:
 The first thing you need is an idea. So, start by clearly defining what the project needs and your goals for it. Talk to your prospective customers to learn about their products, key features, and the audience it aims to attract. The conversation will tell you more about how the packaging should look and function. That's key to what you will do in the steps that follow.
Gather relevant information: How much do you know about the client's product? Do you have the details about the product itself, the brand's identity, or the target market? Make sure you do. These insights will ensure your final packaging connects with the intended audience. Here is also where you set the tone for the rest of the journey.
#2. Market Research
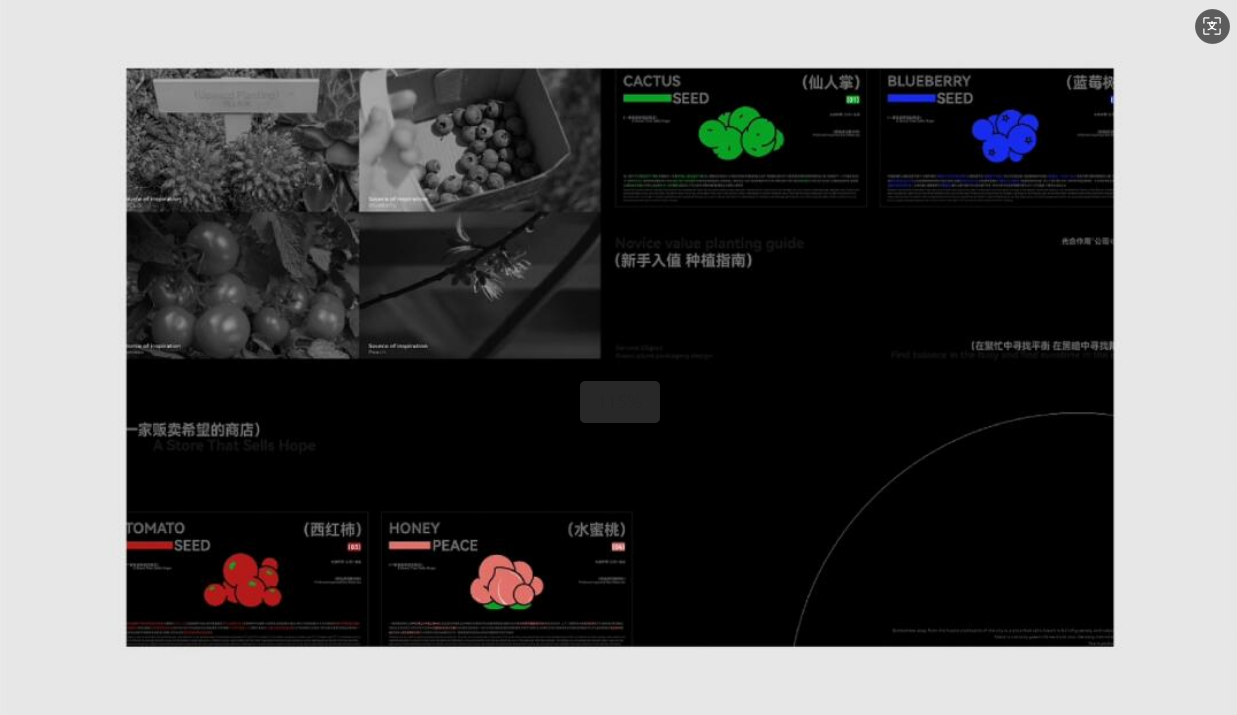
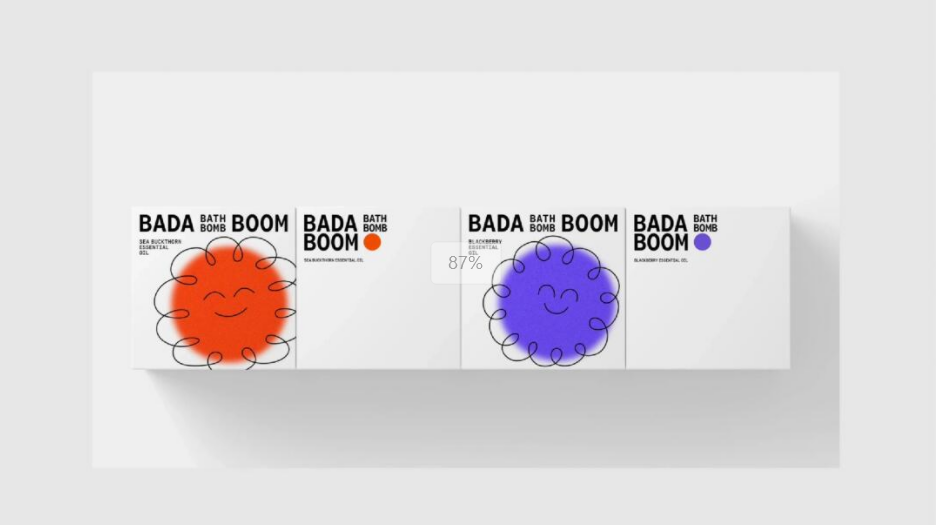
Trends, consumer preferences, and competitors’ designs within the target market help you develop an idea for your design. So, pay attention to them.
Market research helps shape the design direction. It gives you more insights into what appeals to your audience. That's not all. You'll learn what captures the attention of your preferences. For most people, this can be vibrant colors, eco-friendly materials, or practical designs.
You may use tools during this phase to speed up the process. Here are options about where you can collect data:
- Surveys and focus groups. These help you gather direct feedback from your audience.
- Social media analysis. Facebook, Instagram, LinkedIn, Bluesky, or TikTok are where many people are these days. What better place to track trending styles and consumer discussions than these? Maybe YouTube and other social media platforms.
- Sales data. Learn from what works. Use sale's data to identify packaging designs that drive customer engagement.
What are you looking to achieve with market research? Many things. But first, your packaging should remain relevant, appealing, and aligned to both market demand and consumer expectations.
So, market research is one step you shouldn't think about skipping. Because the chances of your design failing to connect with the audience will only increase.
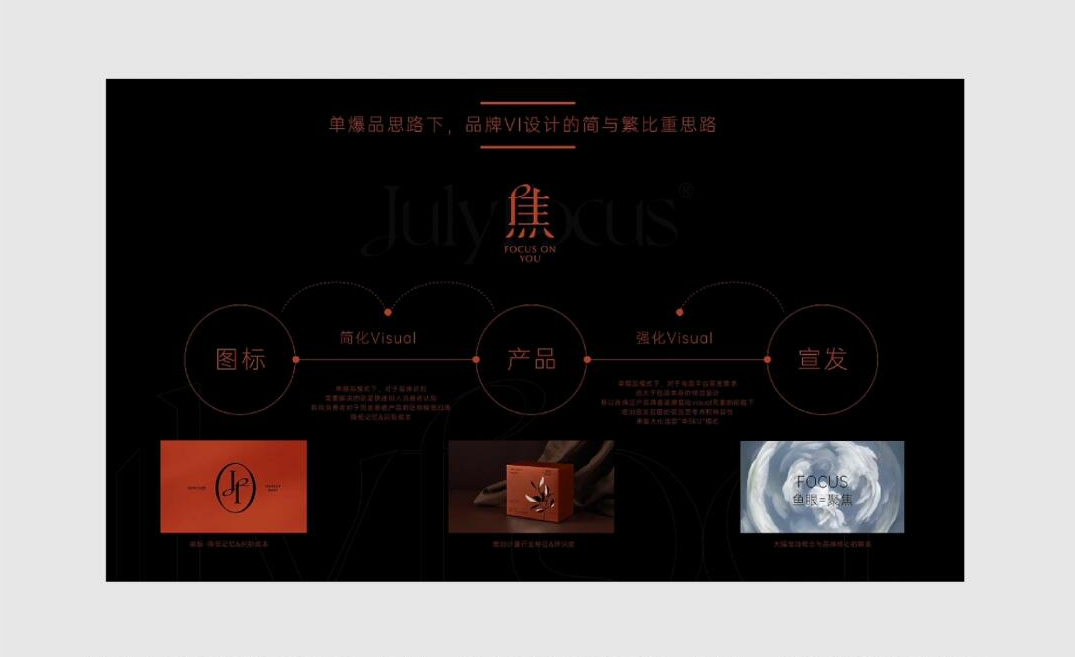
#3. Determine Design Direction
Find References: You should, at this stage, be having a few design references that best match the goals you identified earlier. But if you haven't saved any references, here is where you can get them:
- Competitor packaging
- Trends in your industry, even
- Unrelated designs (this may give you an idea of what your project needs.)
#4. Design the Packaging Layout
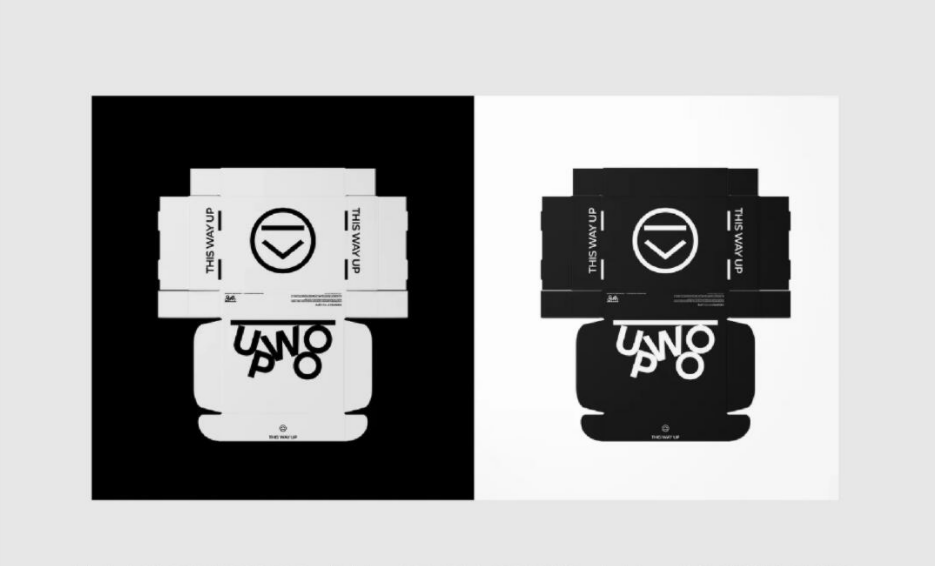
Do you have an idea of what you want? Build on it. Here is how you do it: don't forget the primary function of product packaging which is to hold products.
So the packaging should be spacious enough for the product. Ensure it is by measuring both the inner and outer dimensions of the product.
Next, create die-cut drawings. This outlines the flat structure of the packaging. The step helps you visualize how the packaging will look once assembled.
#5. Proofreading and Checking
The final design should be accurate and ready for production. Here is where you ensure it is.
And you need different teams to do that. Proofreading and checking process brings together many people to review and correct any mistakes.
Just like in other stages, every detail matters. Even small aspects are checked. Here is the checklist of what to look for to save you time:
- Legal content are correct
- All legal requirements should comply with regulation. These include ingredients lists, safety warnings, and product disclaimers. You probably don't want legal complications. No one does. So pay attention to this.
- Images are okay
- Your images should be high resolution, properly formatted, and free of errors. If they are not, resolve that.
- Barcodes work
- You should be careful about barcodes. Any slight mistake will lead to issues. So, verify that barcodes are placed correctly and function well.
- QR functions as intended
- These codes direct customers to landing pages. You don't want this link directing people to wrong places, right? Or a broken link frustrating users which may damage your brand's credibility.
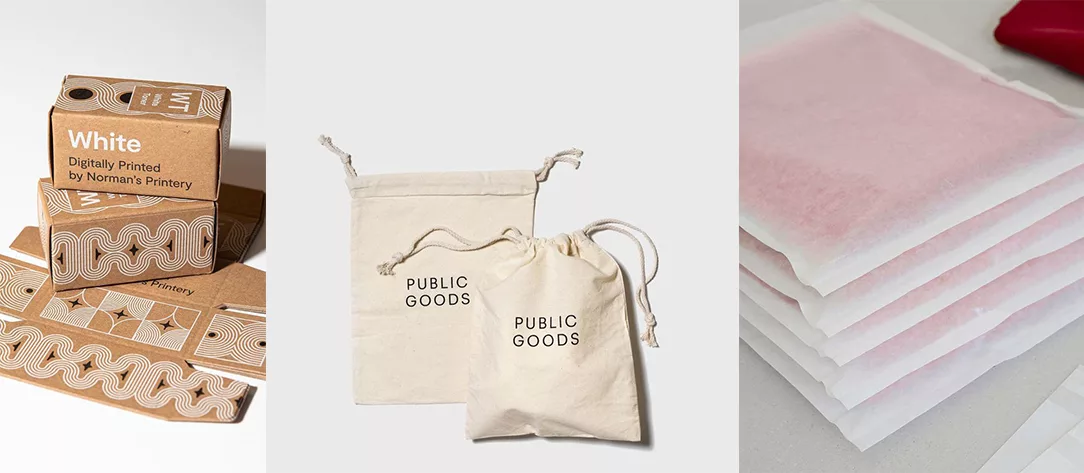
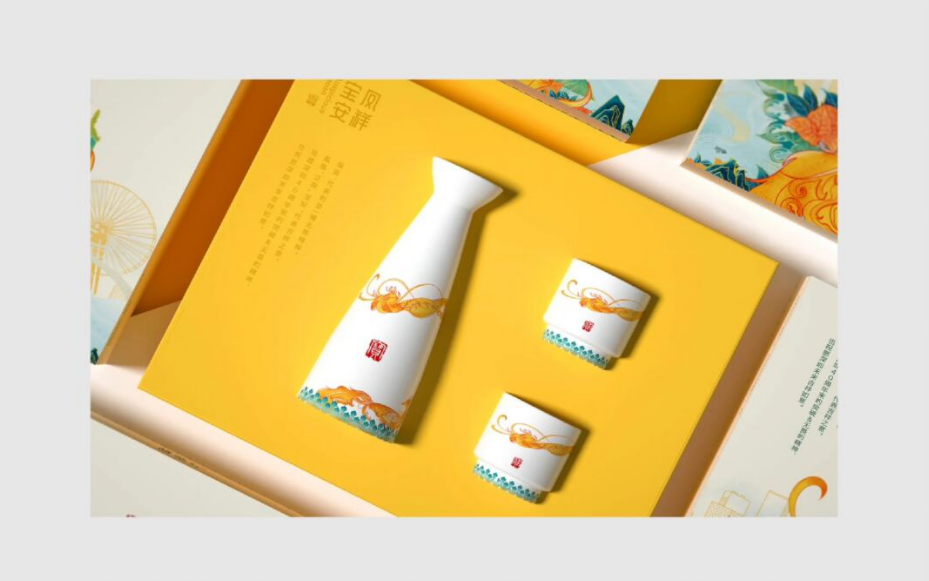
#6. Material Suggestions
The design is there. Proofreading done. Now you only need the material to help you turn it into the real thing.
How do you get that? That's the reason material selection is a critical part of the whole process. Advice? Always go for the right material. It will ensure the design looks good and also keep the costs down.
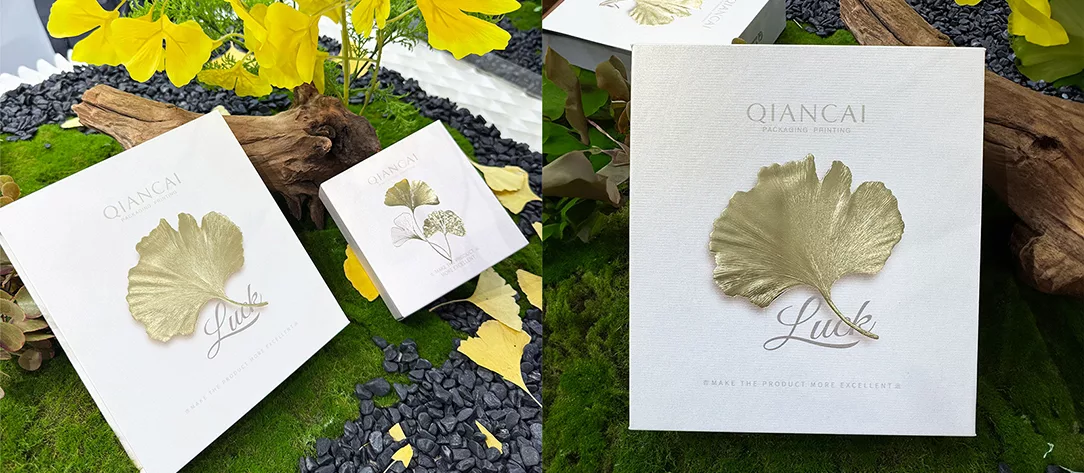
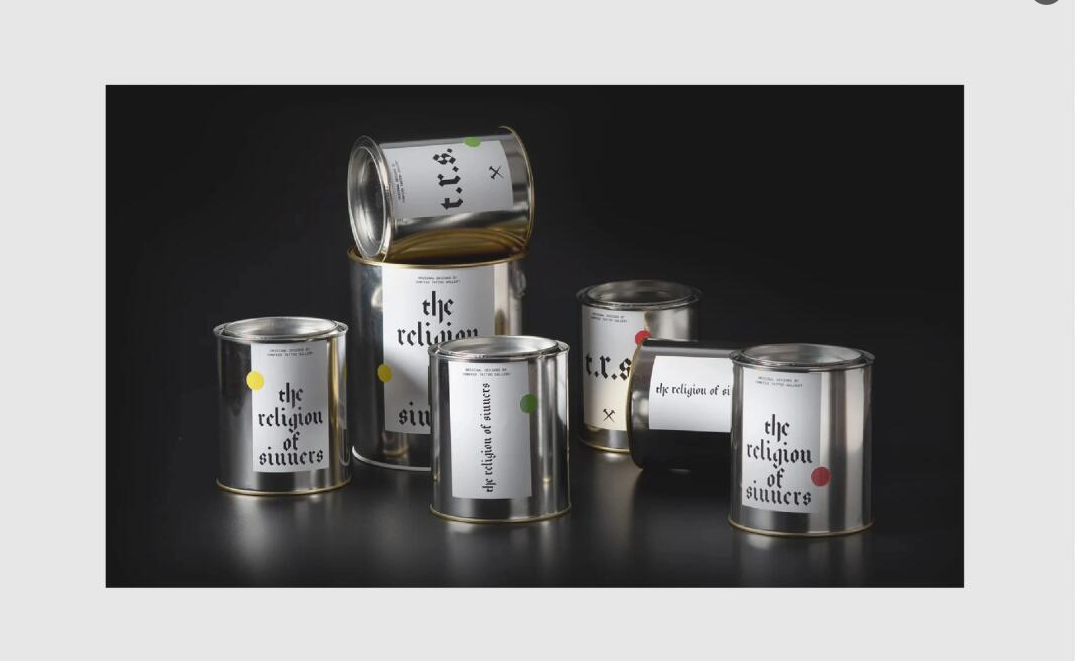
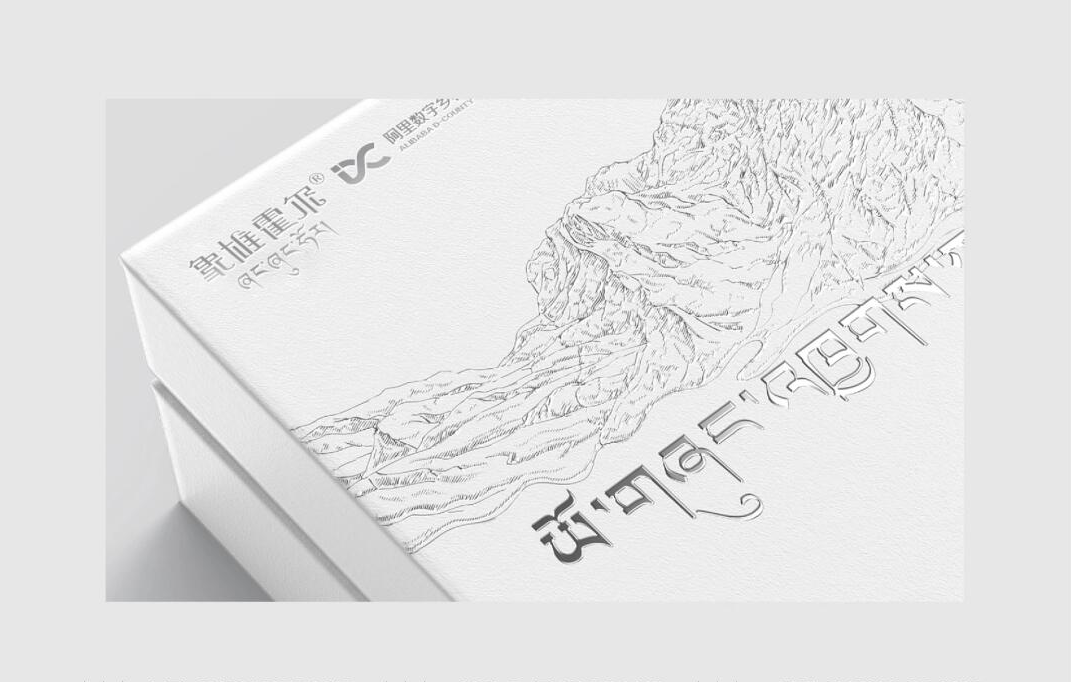
The good thing is that each material brings unique textures and finishes that have the charm to elevate the packaging. For example:
- A matte cardboard finish can create a premium and elegant look.
- Glossy plastic might highlight color contrast.
- Kraft paper could give a rustic or natural appearance.
Techniques: It doesn't stop with the material itself. Production techniques also make them better. Lamination, embossing, or any other production technique add depth, texture, and a tactile quality that makes the packaging stand out.
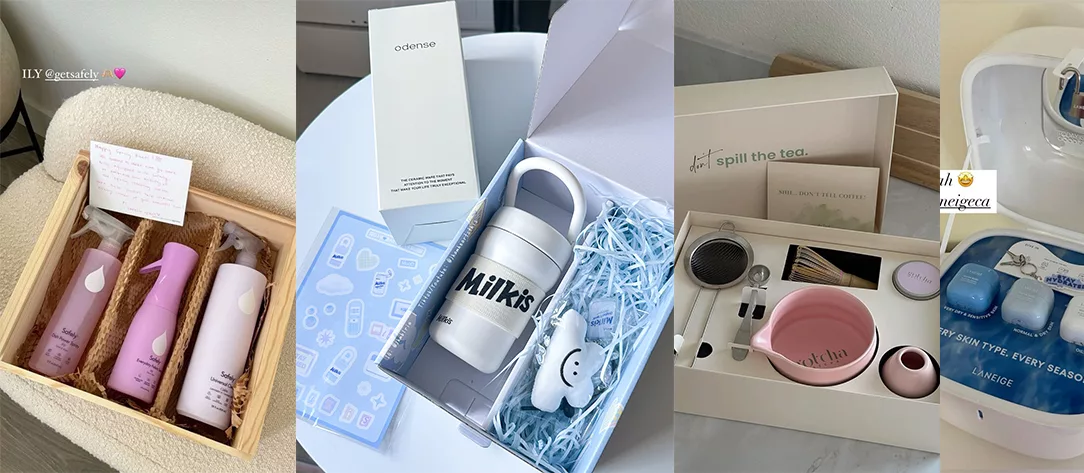
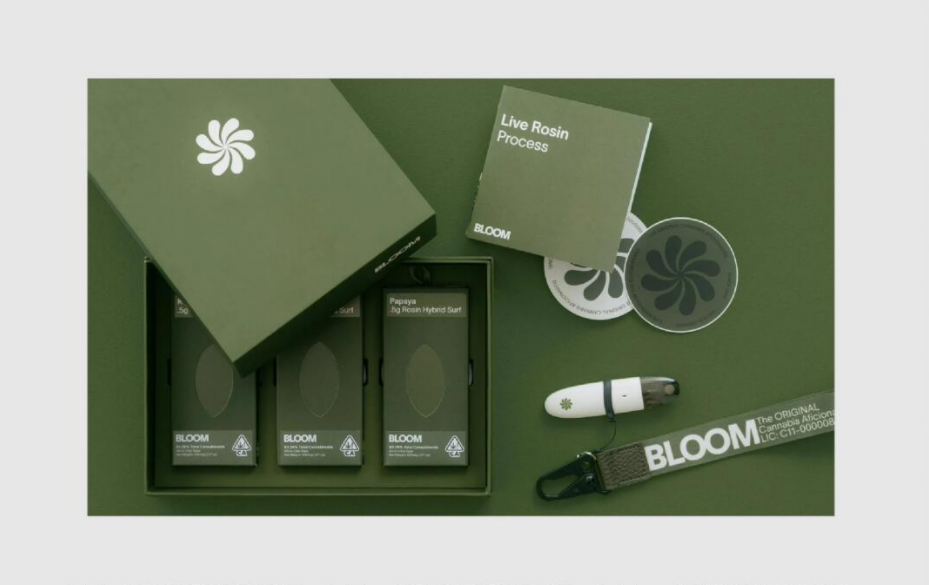
#7. Packaging Prototyping
Of course, you need a prototype. In fact, packaging prototyping is the most critical step in the whole process. It is the bridge between design and production.
The prototype you create must have everything you planned for since the start. Be it design's structure, materials, or overall functionality.
Most times the prototype will not be 100%. So, what will you do in this situation? Correct them. Because it is also where you identify and resolve any issues with the structure or materials.
The benefits don't end there. Here are some more:
- Prototyping ensures the design is functional, durable, and suitable for its purpose.
- It evaluates the strength, flexibility, and compatibility of selected materials.
- The process also allows you to confirm ease of opening, closing, and handling from a consumer's perspective.
- Then, you assess the alignment between design intent and the final appearance.
Thanks to advanced digital prototyping tools, testing the design is now faster and more precise. However, even with these advancements, we sometimes need traditional mock-ups for a thorough evaluation.
Color accuracy is another tricky factor during prototyping. Although advanced digital methods have reduced color inconsistencies, noticeable differences still occur. Therefore, you should review and adjust any deviations. Or get a skilled color technician to do it for you.
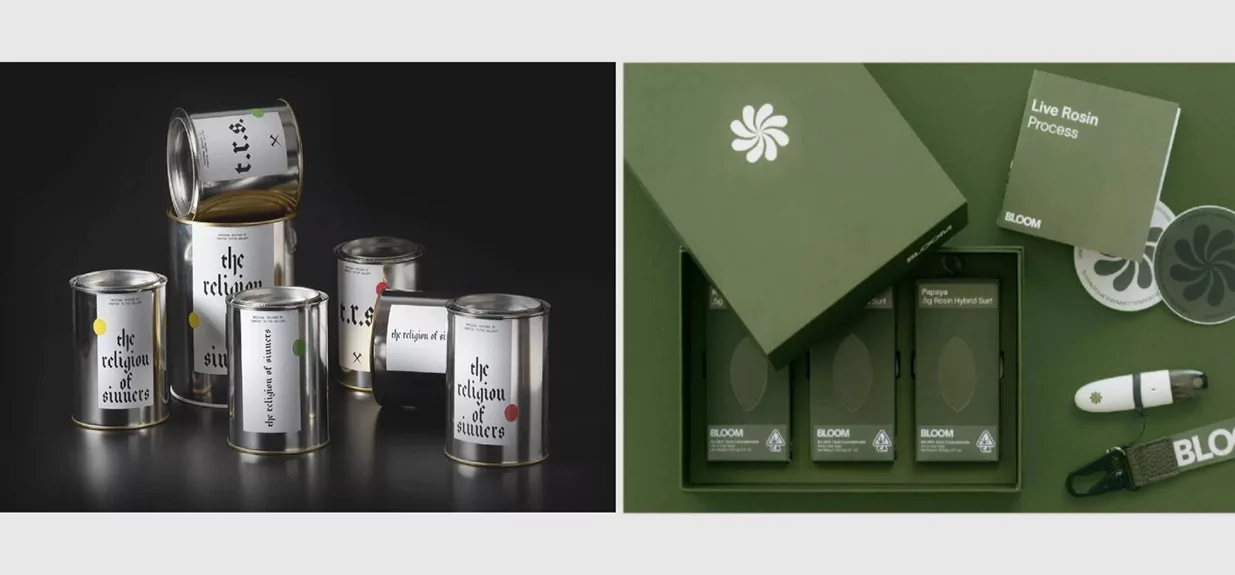
#8. Mass Production
Mass production is the next step. But it doesn't begin until you've successfully completed the proofing and prototyping stages. Here you are scaling up the approved design for large-scale printing and manufacturing.
The checklist has all you need to do at the stage. Take a look.
- Color consistency
- This is a must-tick box. Therefore, work with the color technician to ensure your approved color standards are met. Any variations in color during mass production may lead to inconsistencies.
- Material Selection
- Do materials used for mass production match those approved during the prototyping phase? You should confirm that. Because even slight deviations in material quality affects the final outcome.
- Print Alignment
- Are you ready to incur more expenses in the name of reprints? Probably not. So carefully monitor the alignment of designs and text during printing.
- Quality Assurance
- Your role here is a simple one: to ensure the final packaging matches the original vision. We recommend giving attention to material quality, print alignment, and the overall finish.
#9. Inspection and Corrections
You have the final product, so why is there another stage? To make the product better. This is the last stage you'll have the product for yourself. If any errors go unnoticed at this phase, it may cause your reputation.
Because after this, you'll release the packaging to the people you made it for. It will be time for it to meet and solve real problems. That's the very reason you created it, right?
So, here is why you have a final stage: to talk and listen to people. These may be sales teams and distributors. Their firsthand experiences are what you need to spot errors that you couldn't see on your own.
And once you've done that, you may have to refine materials, rework design elements, or improve functionality. That's not all. Sometimes you might even need to go back to earlier stages, say material design, to solve a problem.
Conclusion
So is it a simple process? I think not. But it is at least straightforward with our guide. The main thing you should know is that turning a packaging design idea into a finished product goes through multiple steps.
Each is essential, especially if you want to deliver a final product that has that “wow” factor. The steps aren't isolated. Every one of them builds upon the last.
While you can do it alone, you shouldn't. You need a team and constant coordination among teams to ensure you meet timelines and budgets without it affecting quality.
 Communicate with the client: The first thing you need is an idea. So, start by clearly defining what the project needs and your goals for it. Talk to your prospective customers to learn about their products, key features, and the audience it aims to attract. The conversation will tell you more about how the packaging should look and function. That's key to what you will do in the steps that follow.
Gather relevant information: How much do you know about the client's product? Do you have the details about the product itself, the brand's identity, or the target market? Make sure you do. These insights will ensure your final packaging connects with the intended audience. Here is also where you set the tone for the rest of the journey.
Communicate with the client: The first thing you need is an idea. So, start by clearly defining what the project needs and your goals for it. Talk to your prospective customers to learn about their products, key features, and the audience it aims to attract. The conversation will tell you more about how the packaging should look and function. That's key to what you will do in the steps that follow.
Gather relevant information: How much do you know about the client's product? Do you have the details about the product itself, the brand's identity, or the target market? Make sure you do. These insights will ensure your final packaging connects with the intended audience. Here is also where you set the tone for the rest of the journey.
 Trends, consumer preferences, and competitors’ designs within the target market help you develop an idea for your design. So, pay attention to them.
Market research helps shape the design direction. It gives you more insights into what appeals to your audience. That's not all. You'll learn what captures the attention of your preferences. For most people, this can be vibrant colors, eco-friendly materials, or practical designs.
You may use tools during this phase to speed up the process. Here are options about where you can collect data:
Trends, consumer preferences, and competitors’ designs within the target market help you develop an idea for your design. So, pay attention to them.
Market research helps shape the design direction. It gives you more insights into what appeals to your audience. That's not all. You'll learn what captures the attention of your preferences. For most people, this can be vibrant colors, eco-friendly materials, or practical designs.
You may use tools during this phase to speed up the process. Here are options about where you can collect data:
 Find References: You should, at this stage, be having a few design references that best match the goals you identified earlier. But if you haven't saved any references, here is where you can get them:
 Do you have an idea of what you want? Build on it. Here is how you do it: don't forget the primary function of product packaging which is to hold products.
So the packaging should be spacious enough for the product. Ensure it is by measuring both the inner and outer dimensions of the product.
Next, create die-cut drawings. This outlines the flat structure of the packaging. The step helps you visualize how the packaging will look once assembled.
Do you have an idea of what you want? Build on it. Here is how you do it: don't forget the primary function of product packaging which is to hold products.
So the packaging should be spacious enough for the product. Ensure it is by measuring both the inner and outer dimensions of the product.
Next, create die-cut drawings. This outlines the flat structure of the packaging. The step helps you visualize how the packaging will look once assembled.
 The design is there. Proofreading done. Now you only need the material to help you turn it into the real thing.
How do you get that? That's the reason material selection is a critical part of the whole process. Advice? Always go for the right material. It will ensure the design looks good and also keep the costs down.
The good thing is that each material brings unique textures and finishes that have the charm to elevate the packaging. For example:
The design is there. Proofreading done. Now you only need the material to help you turn it into the real thing.
How do you get that? That's the reason material selection is a critical part of the whole process. Advice? Always go for the right material. It will ensure the design looks good and also keep the costs down.
The good thing is that each material brings unique textures and finishes that have the charm to elevate the packaging. For example:
 Mass production is the next step. But it doesn't begin until you've successfully completed the proofing and prototyping stages. Here you are scaling up the approved design for large-scale printing and manufacturing.
The checklist has all you need to do at the stage. Take a look.
Mass production is the next step. But it doesn't begin until you've successfully completed the proofing and prototyping stages. Here you are scaling up the approved design for large-scale printing and manufacturing.
The checklist has all you need to do at the stage. Take a look.
 You have the final product, so why is there another stage? To make the product better. This is the last stage you'll have the product for yourself. If any errors go unnoticed at this phase, it may cause your reputation.
Because after this, you'll release the packaging to the people you made it for. It will be time for it to meet and solve real problems. That's the very reason you created it, right?
So, here is why you have a final stage: to talk and listen to people. These may be sales teams and distributors. Their firsthand experiences are what you need to spot errors that you couldn't see on your own.
And once you've done that, you may have to refine materials, rework design elements, or improve functionality. That's not all. Sometimes you might even need to go back to earlier stages, say material design, to solve a problem.
You have the final product, so why is there another stage? To make the product better. This is the last stage you'll have the product for yourself. If any errors go unnoticed at this phase, it may cause your reputation.
Because after this, you'll release the packaging to the people you made it for. It will be time for it to meet and solve real problems. That's the very reason you created it, right?
So, here is why you have a final stage: to talk and listen to people. These may be sales teams and distributors. Their firsthand experiences are what you need to spot errors that you couldn't see on your own.
And once you've done that, you may have to refine materials, rework design elements, or improve functionality. That's not all. Sometimes you might even need to go back to earlier stages, say material design, to solve a problem.