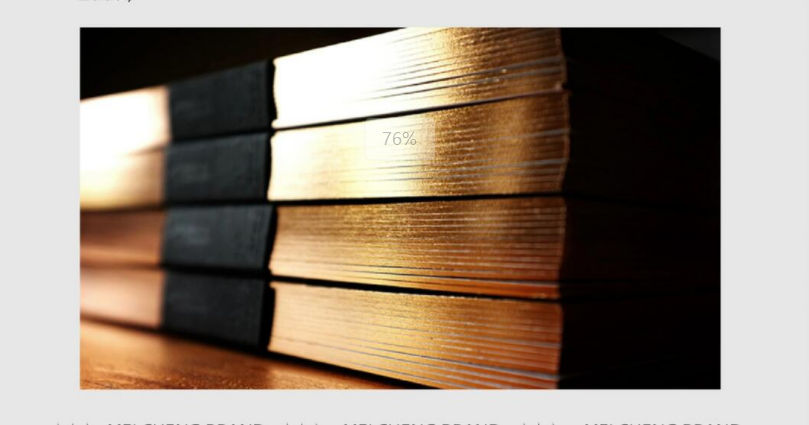
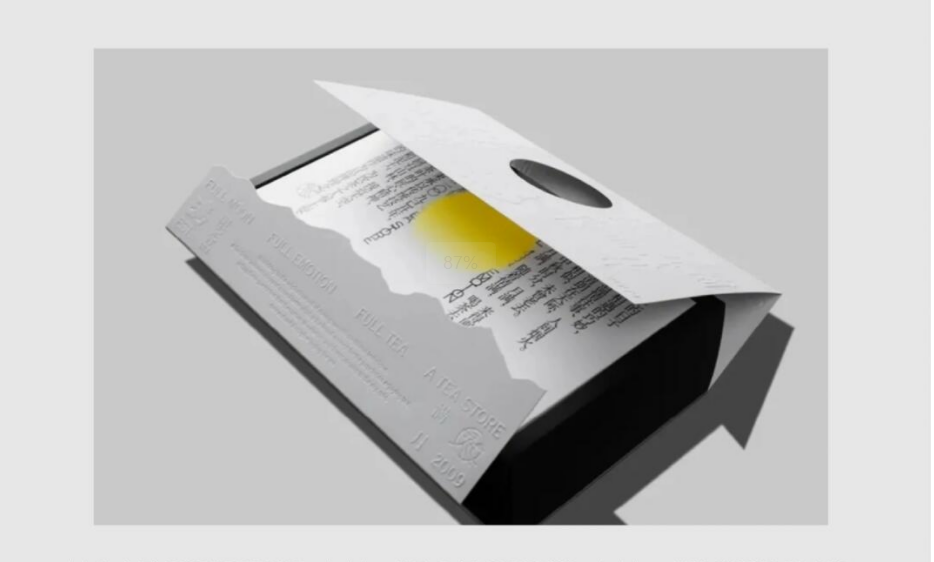
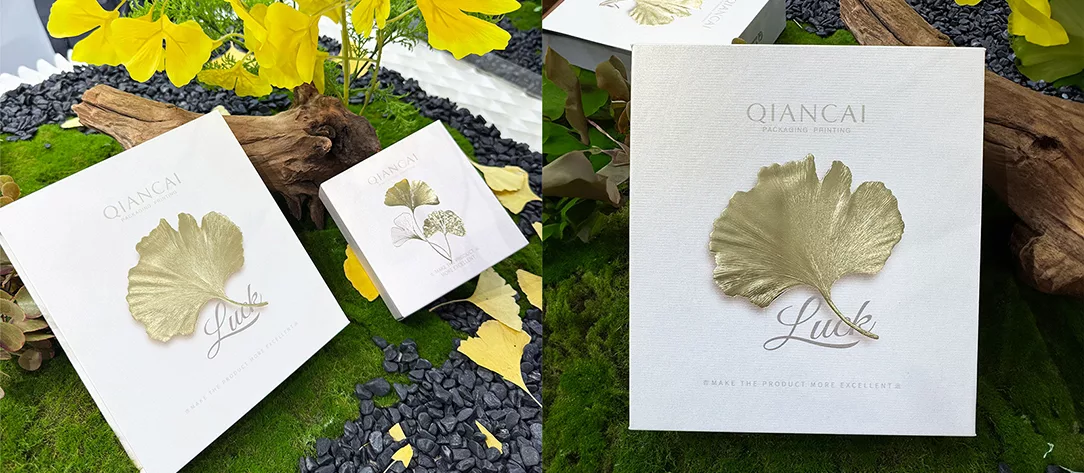
 Do you want to add depth and texture to your printed materials to make them feel special? This is one of the top choices for that when it comes to printing.
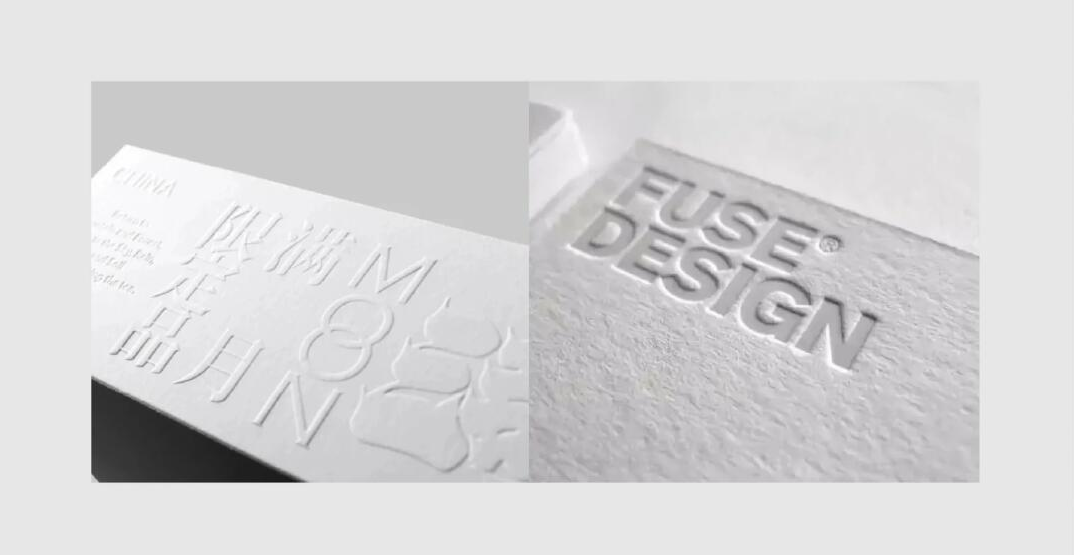
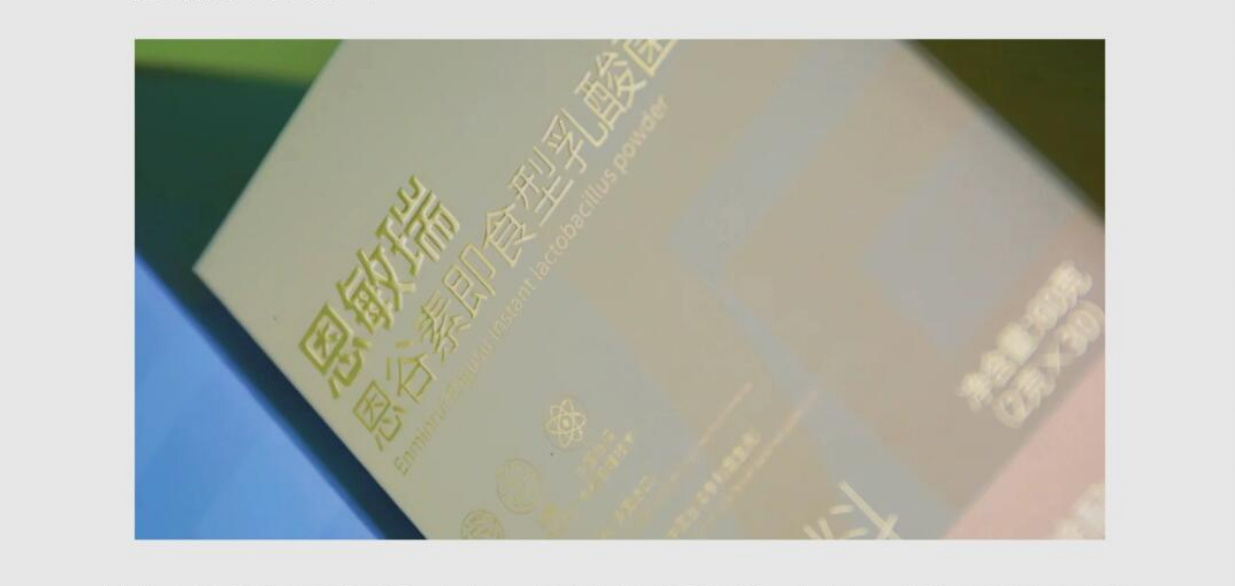
Embossing uses the male die to raise the design above the surface. The result? A more noticeable design. But debossing does the opposite. It is the technique you use when you want to press the design into the material. And it requires a female die to leave an indented look.
Both of them have one thing in common: they make designs more interesting to see and touch. The next time you want to achieve a professional feel on packaging, cards, and labels, try any of the two.
Do you want to add depth and texture to your printed materials to make them feel special? This is one of the top choices for that when it comes to printing.
Embossing uses the male die to raise the design above the surface. The result? A more noticeable design. But debossing does the opposite. It is the technique you use when you want to press the design into the material. And it requires a female die to leave an indented look.
Both of them have one thing in common: they make designs more interesting to see and touch. The next time you want to achieve a professional feel on packaging, cards, and labels, try any of the two.
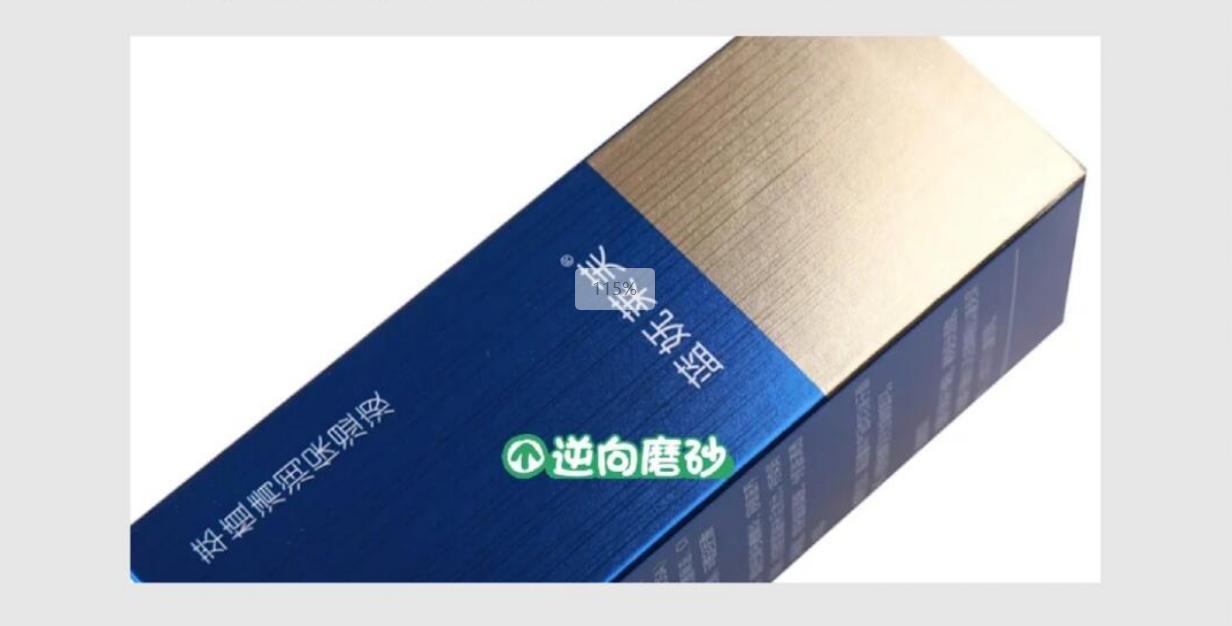
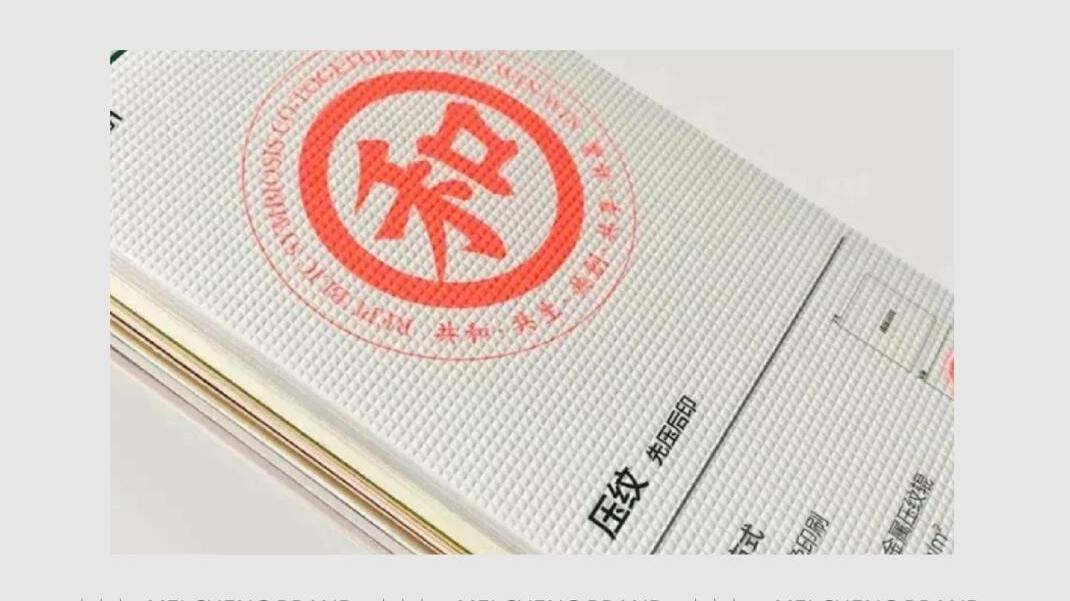 Just like embossing, stamping presses the designs onto a material. But it does it differently. This method uses molds with textured patterns to press designs onto materials. Stamping requires specific pressures and temperatures.
The process creates impressions of varying depths that feels as good as it looks. That's why this technique is common in decorative packaging, where beauty sells.
Just like embossing, stamping presses the designs onto a material. But it does it differently. This method uses molds with textured patterns to press designs onto materials. Stamping requires specific pressures and temperatures.
The process creates impressions of varying depths that feels as good as it looks. That's why this technique is common in decorative packaging, where beauty sells.
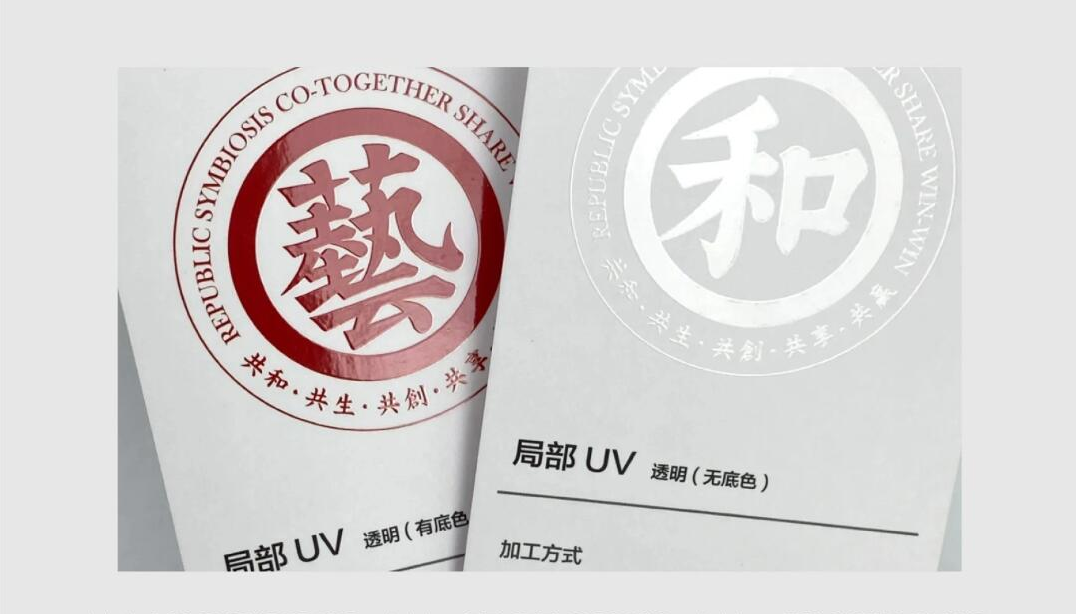 You can also use UV coating to achieve a specific result when printing. Spot UV coating is the first one on our list that does this.
It applies a UV light-cured layer to certain parts of the design. This method creates a striking contrast between glossy and matte finishes.
Spot UV coating is a favorite in luxury branding materials, mainly as logos, texts, or patterns. Most brands use it to add an elegant touch to their overall design.
You can also use UV coating to achieve a specific result when printing. Spot UV coating is the first one on our list that does this.
It applies a UV light-cured layer to certain parts of the design. This method creates a striking contrast between glossy and matte finishes.
Spot UV coating is a favorite in luxury branding materials, mainly as logos, texts, or patterns. Most brands use it to add an elegant touch to their overall design.
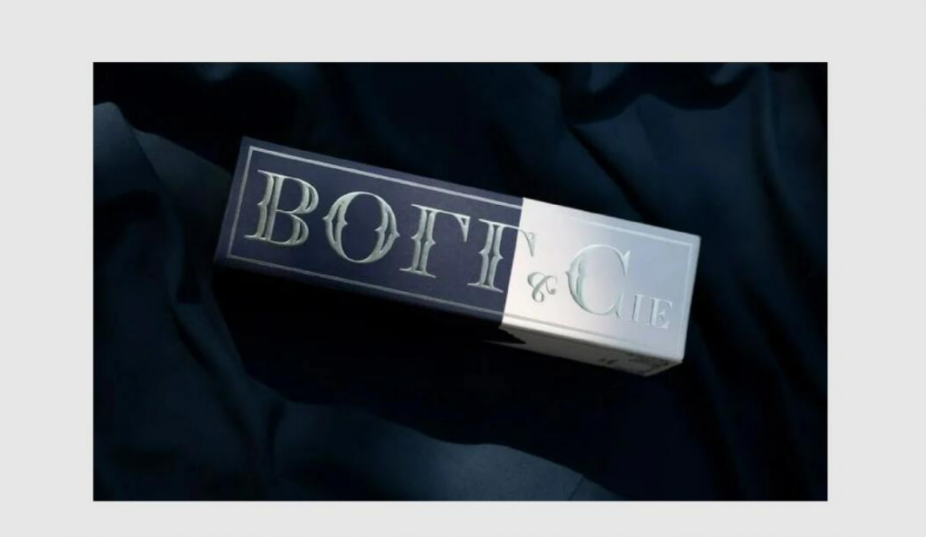
 Reverse UV printing uses two layers of coating to make areas look matte while others stay shiny. Both top and base coating are cured under UV light to get the work done.
This method is also a top pick for those who want their designs to look more professional. And you'll likely see it on fancy packaging and special marketing materials.
Reverse UV printing uses two layers of coating to make areas look matte while others stay shiny. Both top and base coating are cured under UV light to get the work done.
This method is also a top pick for those who want their designs to look more professional. And you'll likely see it on fancy packaging and special marketing materials.
 Most of the methods we've discussed either press or use UV coating. Here is a unique but popular one: lamination. A laminated material is one that is covered on the surface with a plastic film. The process requires heat and pressure to achieve the desired feel.
So how does lamination work? It's simple. This technique creates a unified layer where paper and plastic merge seamlessly.
You can use a shiny finish for a reflective gloss or a matte one to give a more subdued feel. And that's not even the best thing about lamination. When done right, it increases the resistance of the material to wear and tear. Menus, book covers, or business cards use this method because it produces high-quality prints that are long-lasting.
Most of the methods we've discussed either press or use UV coating. Here is a unique but popular one: lamination. A laminated material is one that is covered on the surface with a plastic film. The process requires heat and pressure to achieve the desired feel.
So how does lamination work? It's simple. This technique creates a unified layer where paper and plastic merge seamlessly.
You can use a shiny finish for a reflective gloss or a matte one to give a more subdued feel. And that's not even the best thing about lamination. When done right, it increases the resistance of the material to wear and tear. Menus, book covers, or business cards use this method because it produces high-quality prints that are long-lasting.
 This next technique requires you to apply a clear varnish over the surface of your material. It protects the printed material, here is how:
 Have you seen those business cards with color on the edges? You can make yours like that, too. Because that's what edge coloring lets you do.
This method adds color to the edges of thick papers or business cards. Edge coloring makes the design better, and the product more refined.
The next time you have a project that requires a polished appearance to impress clients, consider edge coloring. You'll get a printed product with a high perceived value.
Have you seen those business cards with color on the edges? You can make yours like that, too. Because that's what edge coloring lets you do.
This method adds color to the edges of thick papers or business cards. Edge coloring makes the design better, and the product more refined.
The next time you have a project that requires a polished appearance to impress clients, consider edge coloring. You'll get a printed product with a high perceived value.
 Creasing, just as its name suggests, gives materials folds and creases to improve their feel. In this method, you apply strong pressure to paper or other materials and that's what creates precise folds and creases. These are the ones that improve both the design and functionality of the material.
Have you seen those prints that fold easily without damage? Brands that make them use creasing. Creasing is mostly used for brochures, but you can use it for your packaging, too.
Creasing, just as its name suggests, gives materials folds and creases to improve their feel. In this method, you apply strong pressure to paper or other materials and that's what creates precise folds and creases. These are the ones that improve both the design and functionality of the material.
Have you seen those prints that fold easily without damage? Brands that make them use creasing. Creasing is mostly used for brochures, but you can use it for your packaging, too.
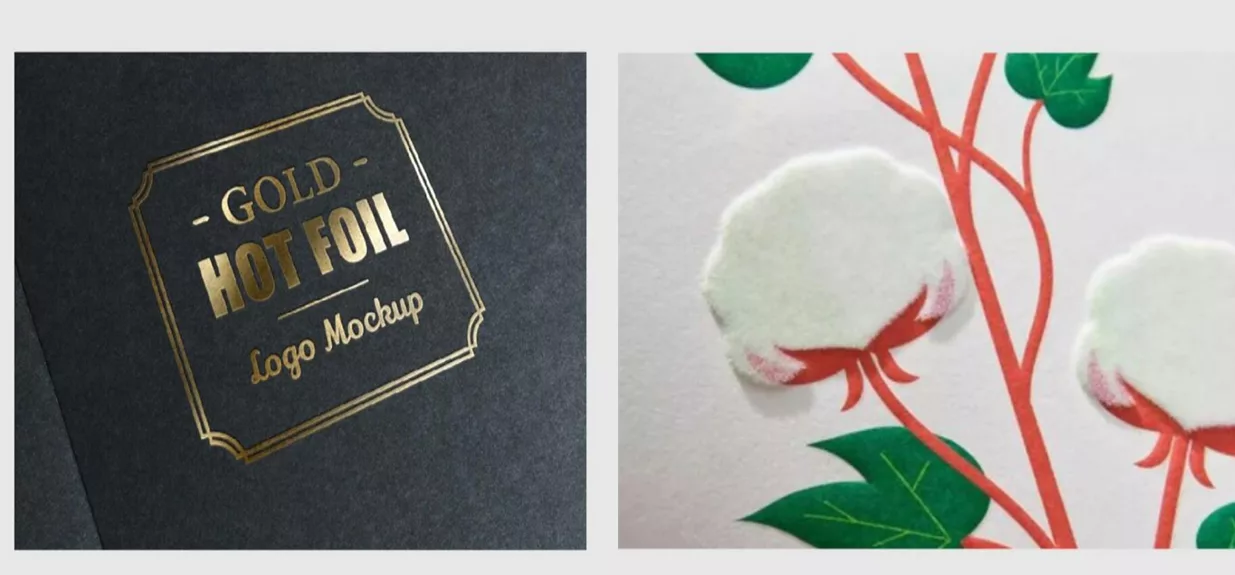
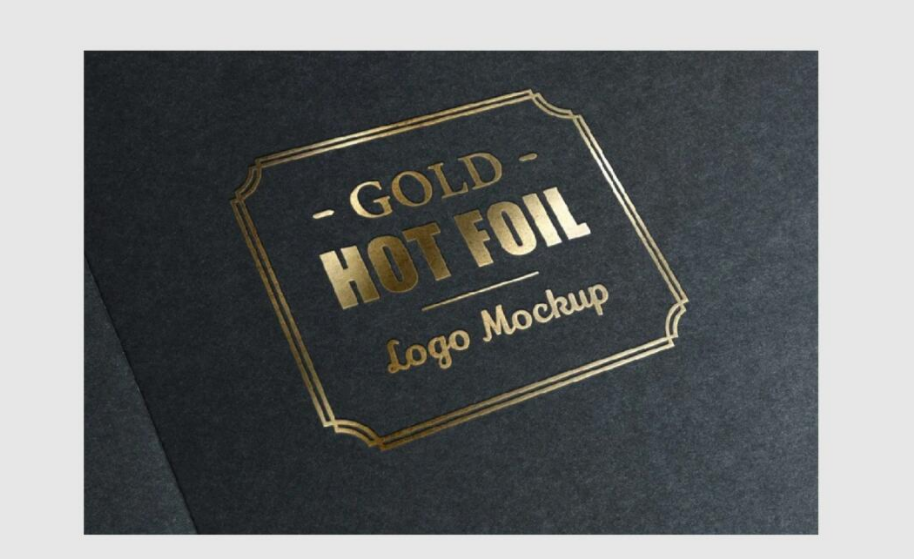 Metallic foil also gives a similar result as the others. The method of applying this foil is what is called hot foil stamping.
Here is what you need:
Metallic foil also gives a similar result as the others. The method of applying this foil is what is called hot foil stamping.
Here is what you need:
 A metallic foil is not the only foil you can use for printing. Laser foil is another alternative. Unlike the others, this technique is complex. It transforms ordinary surfaces into eye-catching works of art.
It is achieved by using a laser foil transfer intricate designs with precision to create stunning finishes. You'll get a product that is luxurious and also exclusive.
A metallic foil is not the only foil you can use for printing. Laser foil is another alternative. Unlike the others, this technique is complex. It transforms ordinary surfaces into eye-catching works of art.
It is achieved by using a laser foil transfer intricate designs with precision to create stunning finishes. You'll get a product that is luxurious and also exclusive.
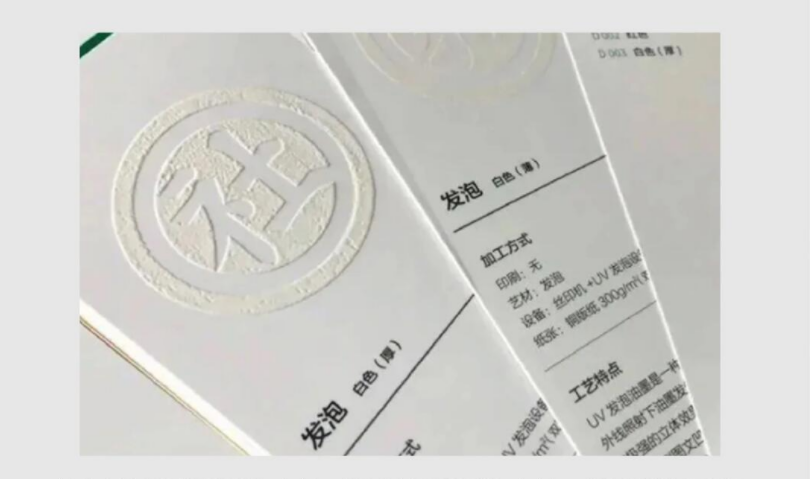 There is a certain class of inks that expands. They are called expandable microsphere inks.
Through foaming, these inks expand when heated to create raised designs. The result is a three-dimensional effect that makes stand out both to the eye and touch.
Foaming is popular where tactile engagement is as important as visual impact. So, this method basically brings designs to life. You can use it on any the following items:
There is a certain class of inks that expands. They are called expandable microsphere inks.
Through foaming, these inks expand when heated to create raised designs. The result is a three-dimensional effect that makes stand out both to the eye and touch.
Foaming is popular where tactile engagement is as important as visual impact. So, this method basically brings designs to life. You can use it on any the following items:
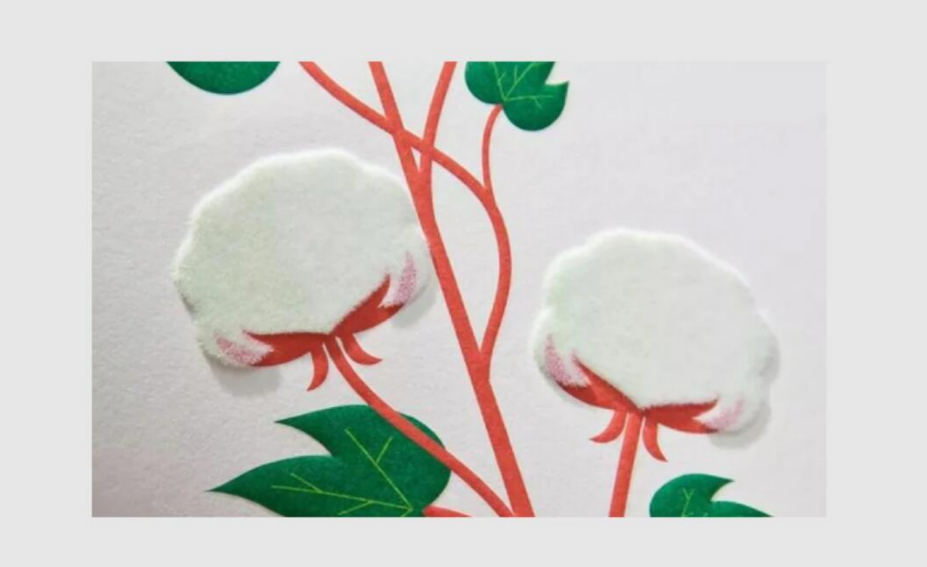 Ever wondered how brands create the velvet-like designs on decorative items? These soft, smooth, and elegant designs come about through flocking.
It's done using tiny fibers which are attached to an adhesive-coated surface, mainly to create a texture that feels like velvet.
Many use flocking to make prints more inviting and warm. The unique finish makes it a favorite for products that need an upscale look. I'm talking about decorative items as well as packaging.
Ever wondered how brands create the velvet-like designs on decorative items? These soft, smooth, and elegant designs come about through flocking.
It's done using tiny fibers which are attached to an adhesive-coated surface, mainly to create a texture that feels like velvet.
Many use flocking to make prints more inviting and warm. The unique finish makes it a favorite for products that need an upscale look. I'm talking about decorative items as well as packaging.
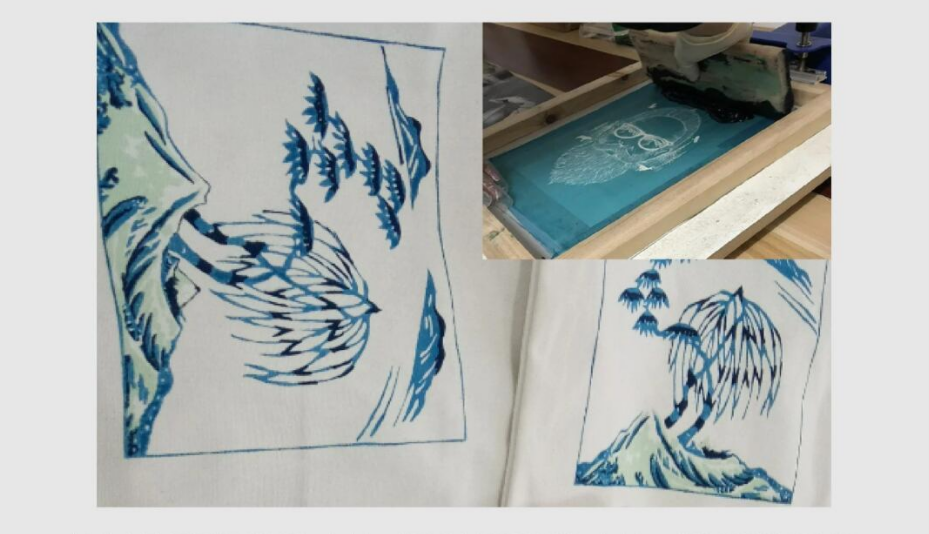 Here is another method that uses ink. Screen printing is a popular method that involves pressing ink through a mesh screen onto different materials. It is known for its ability to create bold and durable designs with textured effects.
The process is suitable for fabric, plastic, metal, and even wood because it adapts easily to different surfaces. This is the commonly used method for outdoor projects thanks to its strong color layers.
But there is more: screen printing is effective for printing on uneven or shaped surfaces. That is what makes it versatile for custom designs. The items made using this method also tend to withstand weather conditions. This is another plus.
Here is another method that uses ink. Screen printing is a popular method that involves pressing ink through a mesh screen onto different materials. It is known for its ability to create bold and durable designs with textured effects.
The process is suitable for fabric, plastic, metal, and even wood because it adapts easily to different surfaces. This is the commonly used method for outdoor projects thanks to its strong color layers.
But there is more: screen printing is effective for printing on uneven or shaped surfaces. That is what makes it versatile for custom designs. The items made using this method also tend to withstand weather conditions. This is another plus.
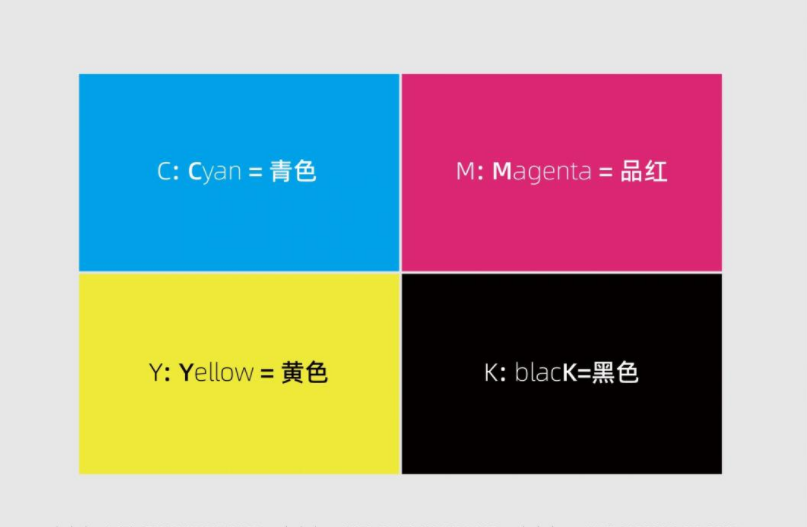 The techniques we've seen to this point mainly focus on one color. But you aren't restricted to them. Four-color printing helps you create vibrant and detailed. It uses primary colors: Cyan, Magenta, Yellow, and Black.
These colors are layered in different proportions to produce a range of shade and tones.
You can use it on the following items:
The techniques we've seen to this point mainly focus on one color. But you aren't restricted to them. Four-color printing helps you create vibrant and detailed. It uses primary colors: Cyan, Magenta, Yellow, and Black.
These colors are layered in different proportions to produce a range of shade and tones.
You can use it on the following items:
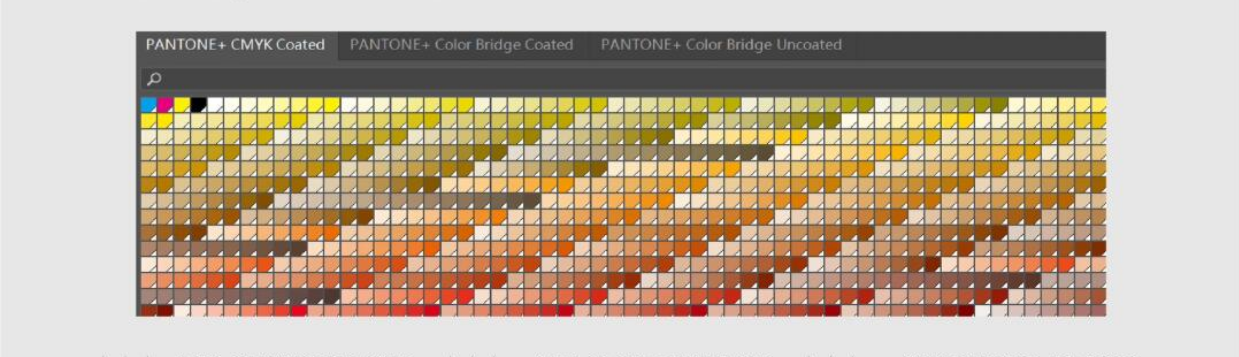 Spot color printing is a method that uses specific pre-mixed colors for designs that need extra color accuracy. This technique is often chosen for projects requiring large areas of uniform color. It ensures colors are consistent and appear exactly as intended. The process avoids many of the transparency issues that can occur with four-color printing.
Spot colors are mixed before printing to allow greater precision in matching brand colors. This makes it a popular choice for logos, packaging, and branding materials.
Spot color printing is a method that uses specific pre-mixed colors for designs that need extra color accuracy. This technique is often chosen for projects requiring large areas of uniform color. It ensures colors are consistent and appear exactly as intended. The process avoids many of the transparency issues that can occur with four-color printing.
Spot colors are mixed before printing to allow greater precision in matching brand colors. This makes it a popular choice for logos, packaging, and branding materials.

Subscribe to our
Enter your email address and enjoy exclusive access to special offers and news.